The structure in the Parashift platform is hierarchical. The parent is tenant 42, which is maintained by Parashift and thus provides the standard document types to each tenant.
A standard document type has some predefined fields associated with it. This collection does not have to be complete in every case, so it may be necessary to add or remove individual fields.
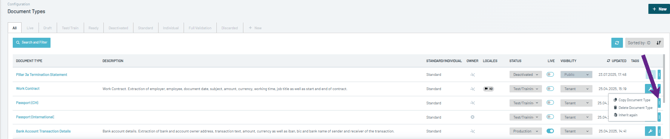
Create Local Copy of a Standard Document Type
To add or remove fields, you need a local copy of the document type. For this, use Copy document-type to create a copy of the document type. Again, make sure that only one document type with the same identifier is "live".
You can recognize the copy of the document type by the Issuer column. This is now no longer the 42, but your tenant number.

Add/Delete Fields from Document Type
The document type can be edited for document types that are assigned to the own tenant.

The structure of the document type can be seen in the "Fields" tab. This is divided into individual sections (1). Each section has a heading (2), here "Sender address" and "General Information", which can be customized. The order of the individual sections can be changed or sections can be deleted completely via the options (3).
A section is either associated with a fieldset (like the sender address (4)) or a collection of individual fields (like the general information).
You can delete single fields (5) or add an associated field to the fieldset (6) or a new single field to an section (7).
Since the address recognition works via rectangles, it is necessary to leave the top (Company name / Contact name) and the bottom (Postal code / City) elements in a address.
Add a new field to a fieldset
If you try to add a field to a fieldset, a popup of all fields will be shown, which belongs to this fieldset. You can activate a field and press "Apply Field" to add the new one.
Add a new single field
The list of fields can be filtered. You can either select an existing field and add it via "Add" or you can create a completely new field.
