In the upload profile (which can be edited using admin access), one can check the option "Manual Validation Separation Required", which will place the document in the queue for separation validation.

One can choose an option for Auto separation config and the options can be Barcode, Blank Page, Fixed Page interval, Parashift Page or not-set.

According to the selections of Manual Validation Separation Required and Auto separation config, the user can control the workflow in the following way:
|
Manual Validation Separation Required |
Auto separation config |
Result |
|---|---|---|
|
unchecked |
no |
1 document, no separation |
|
unchecked |
yes |
auto separation |
|
checked |
no |
manual separation |
|
checked |
yes |
auto separation → manual separation |
During the upload, the user should check "Batch", if the document is a batch document (i.e. multiple single documents merged together). If you upload your file with “Batch” checked and provide the classification scope (document type), all separated docs (child docs) will also receive the chosen document type.

After the upload, the document should appear in the document overview page as follows:

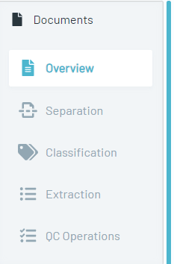
Upon clicking the "Separation" button above or in the sidebar as follows, the user can enter the separation validation interface:
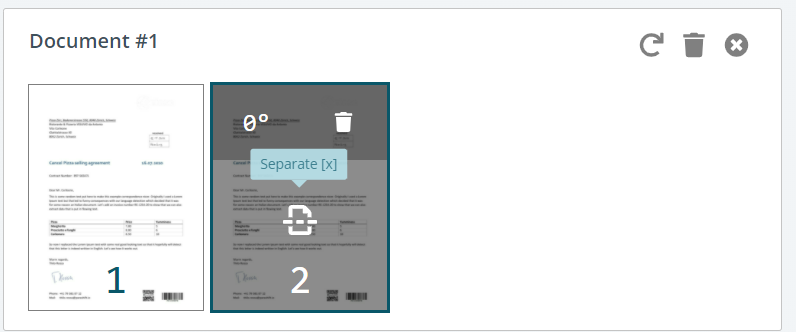
Validation interface shows all the individual pages:

One can delete a page, rotate or separate by clicking the overlayed buttons on the page. Additionally you can reorder the single pages using drag&drop:
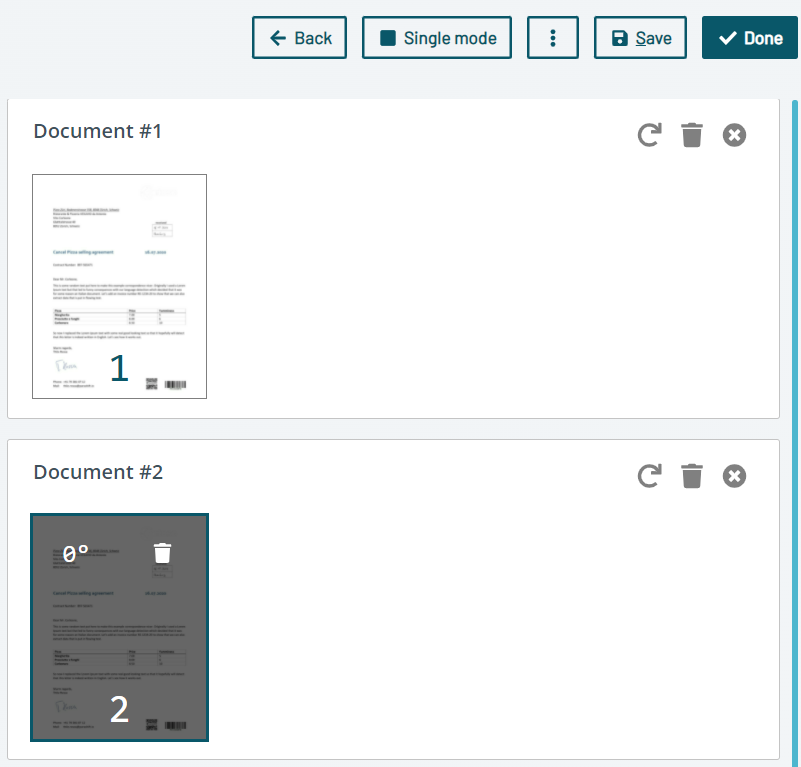
And after the separation, the user should click "save" and "done":
If the separation is performed within the Parashift platform, the incoming document is different from the processed and outgoing document. It is therefore advisable to activate the option "Generate Output PDF" in the upload profile and to retrieve the newly created document via the API and integrate it into the subsequent process.