---
title: How to use the Parashift Platform User Interface
description: Learn the key components of the Parashift User Interface to efficiently navigate the platform, manage documents, configure workflows, and utilize its features for seamless document processing.
---
[Skip to content](https://support.parashift.io/new-introduction-to-the-user-interface#main-content)
[Contact us](https://support.parashift.io/kb-tickets/new?hsLang=en) [Customer support portal](https://support.parashift.io/tickets-view?hsLang=en)
[](https://support.parashift.io/?hsLang=en)
Open main navigation
Close main navigation
- [Contact us](https://support.parashift.io/kb-tickets/new)
- [Customer support portal](https://support.parashift.io/tickets-view)
How can we help you?
- There are no suggestions because the search field is empty.
1. [Support Center](https://support.parashift.io/?hsLang=en)
2. [Getting Started](https://support.parashift.io/getting-started?hsLang=en)
# How to use the Parashift Platform User Interface
## Learn the key components of the Parashift User Interface to efficiently navigate the platform, manage documents, configure workflows, and utilize its features for seamless document processing.
The Parashift user interface is designed to be user-friendly and easy to navigate. It features a clean, intuitive layout that allows users to quickly access and use the platform's features and functions. In this introduction, we will explore some of the key aspects of the Parashift user interface and how it can help users be more productive and efficient.
### **Basic Layout**
When you log in and select a tenant, the interface opens the **Home Page.**
Learn more: [Home Page](https://support.parashift.io/home-page?hsLang=en)
##### 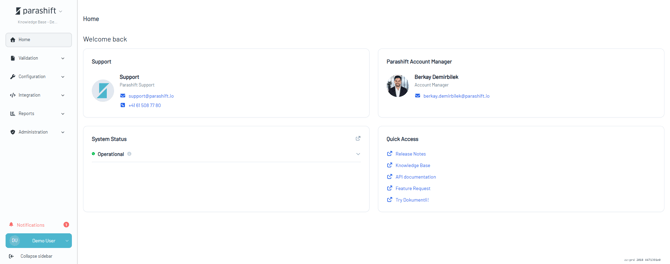
The main layout consists of four main components:

##### 1. Logo and Tenant Name & Search
- Customize your organization's logo and use the new tenant search to quickly find and access the right tenant.
The tenant search is integrated with the logo. Click the logo icon to expand the search box and quickly find a tenant.

You can now see the name of the tenant you're currently using directly from your browser tab. 
##### 2. Sidebar Menu
Theleft sidebar menu is your primary navigation tool and contains five key sections:
- **Home**: Access helpful widgets, key information, and important insights at a glance after logging in.
- **Validation**: Manage workflows and document states.
- **Configuration:** Configure document types, automation rules, fields, fieldsets, and upload profiles.
- **Integration**: Manage API keys, master data, flows and webhooks for system integration.
- **Reports**: Access dashboards, processing statistics, and error analysis.
- **Administration:** Configure tenant settings and manage users and permissions.
Left side menu is also collapsible.

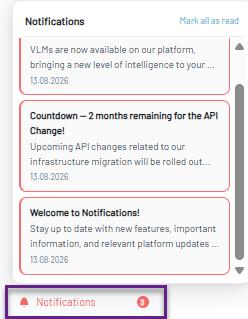
##### 3. Personal Settings & Notifications
- Access personal settings and customization options.
Learn more: [User Settings](https://support.parashift.io/user-settings?hsLang=en)
- Notification section, where you’ll receive all announcements, important updates, and other relevant messages.
##### 4. Main Content Area
Themain content area dynamically updates based on the selected menu item.
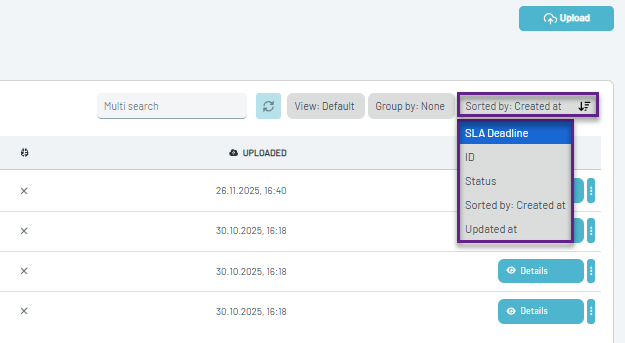
### **Different Sorting Criteria**
Several sorting options are available for sorting documents by various attributes.
### **View Options**
Three different views are available, allowing you to display the level of document detail that best suits your needs.
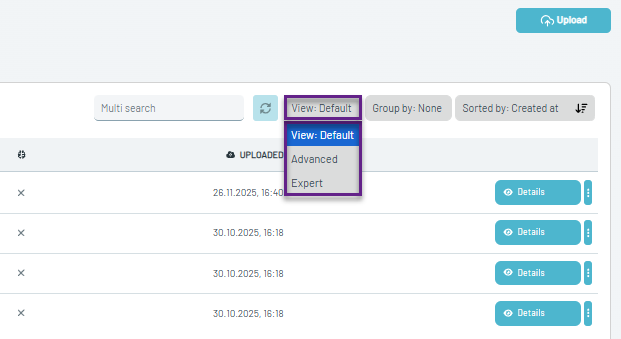
**Default View**
Simplest document list view. It displays all essential document information, including the document name, assigned user, document type, status icon, training status, and the date and time the document was uploaded.
**Expert View**
Includes all information available in the Advanced View, plus the Parashift Document ID. In this view, document statuses are shown as names instead of status icons.
### Display Options
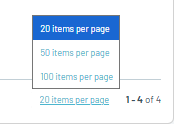
**Items per Page**
Use the Items per Page option in the bottom-right corner of the page to select the number of documents displayed on each page.
**Document Count and Navigation**
For sections with more than 999 documents, the document count is displayed as 999+.
Click 999+ at the bottom of the page to view the exact number of documents in the section.

If your document volume cannot be loaded, you’ll be notified.

To navigate and find documents:
- Use the Previous and Next buttons to move between pages.
- Use the search box to find a specific document.
- Use filters to narrow down the list of documents.
### **Search and Filters**
There are three ways to search and filter documents.
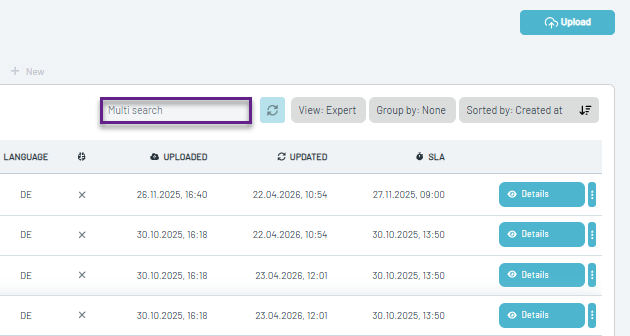
##### **Search Box**
The option allows you to quickly locate documents by searching for:
- Document & Batch ID
- Document & Batch Name
- External ID
Simply enter any of these values into the search box to find the corresponding document or batch instantly.
##### **Advanced Filters**
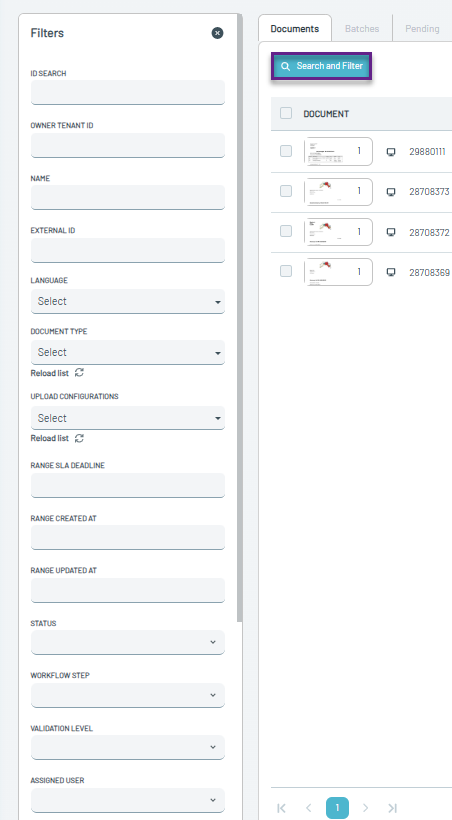
The Advanced Filters panel, located on the left side of the page, provides more powerful search and filtering options. You can apply multiple filters to narrow down the list of documents or batches based on your specific criteria.
##### **Top Bar Filters**
The top bar of the main content area includes preset filters for document status (e.g., Pending, Separation, Classification, Extraction, QC, Done, Exported, Failed). Users can also create and save customized filters.
Learn more: [Creating Your Own Filter Tab](https://support.parashift.io/creating-your-own-filters-tab?hsLang=en)
### ****
### **Bulk Actions**
The bulk action feature allows users to perform actions like bulk classification, deletion, resetting, or copying IDs after selecting multiple documents.

Note that a bulk action will fail an a locked document. You can view and unlock locked documents to proceed with bulk actions.
Learn more: [Bulk-Actions via User Interface](https://support.parashift.io/bulk-action-via-user-interface?hsLang=en)
### **Validation Section**
Upon clicking the "Validation" section in the left sidebar, the user is presented with five sub-sections. The first sub-section, "Overview," opens a list of all documents within the tenant in the main content area. This list provides an overview of the documents, including their names, creation dates, statuses, and more.
The remaining four sub-sections are:
- **Separation**
- **Classification**
- **Extraction**
- **QC Operations**
**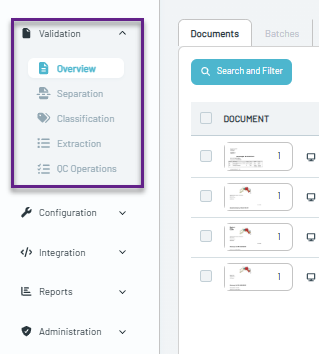**
These sub-sections help users view and manage documents in each stage of the workflow without searching through the entire list. Users can perform actions related to those stages, such as editing or annotating document content.
### **Configuration Section**
Clicking on the "Configuration" section in the left sidebar presents four sub-sections.
**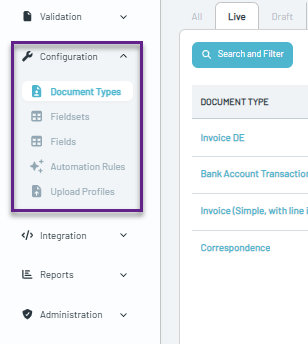**
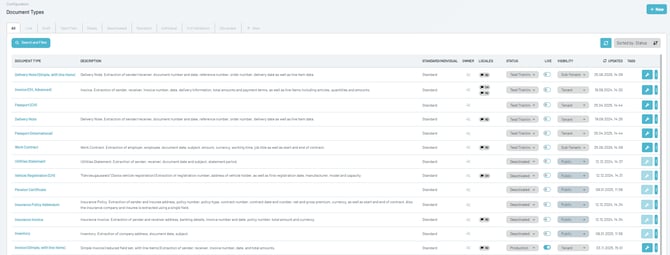
**Document Types**: Create, manage, and edit document type configurations, including status and visibility settings.
****
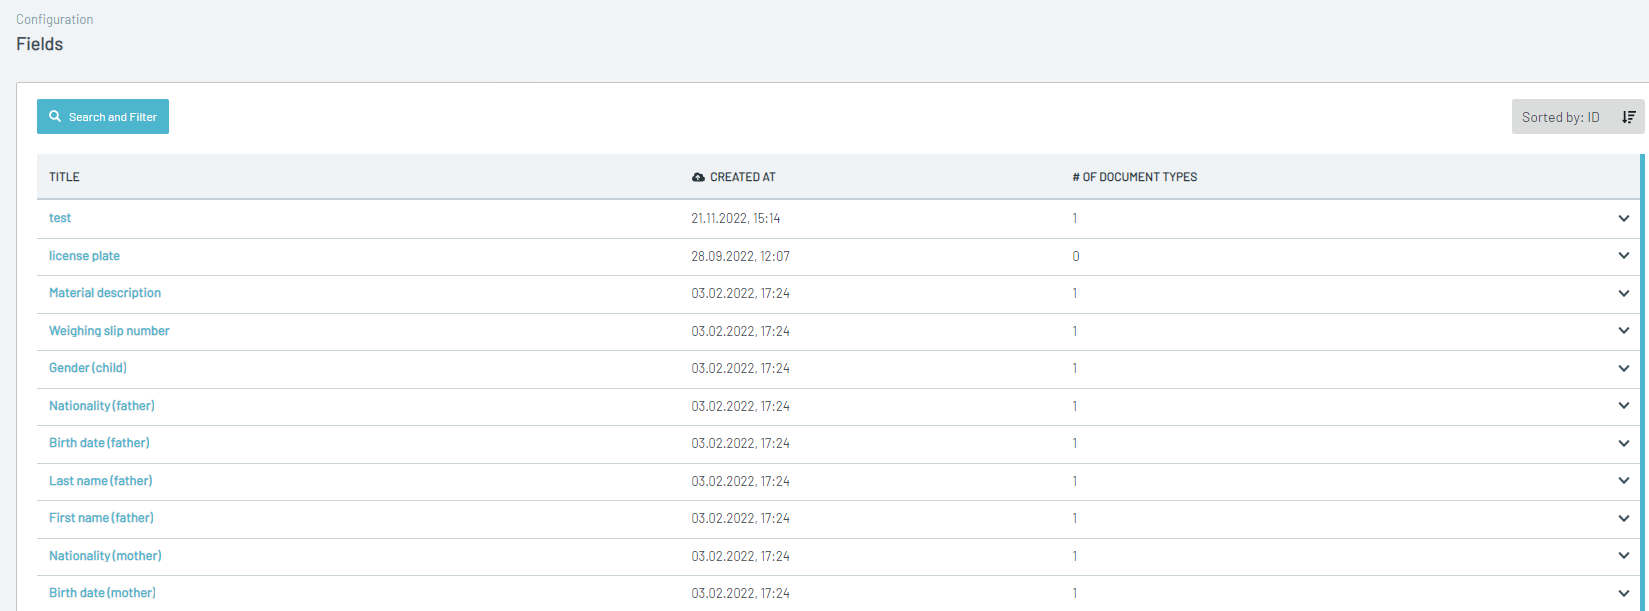
**Fields**: Manage available fields, including their data types, names, descriptions, extractors, verifiers, and transformers.
****
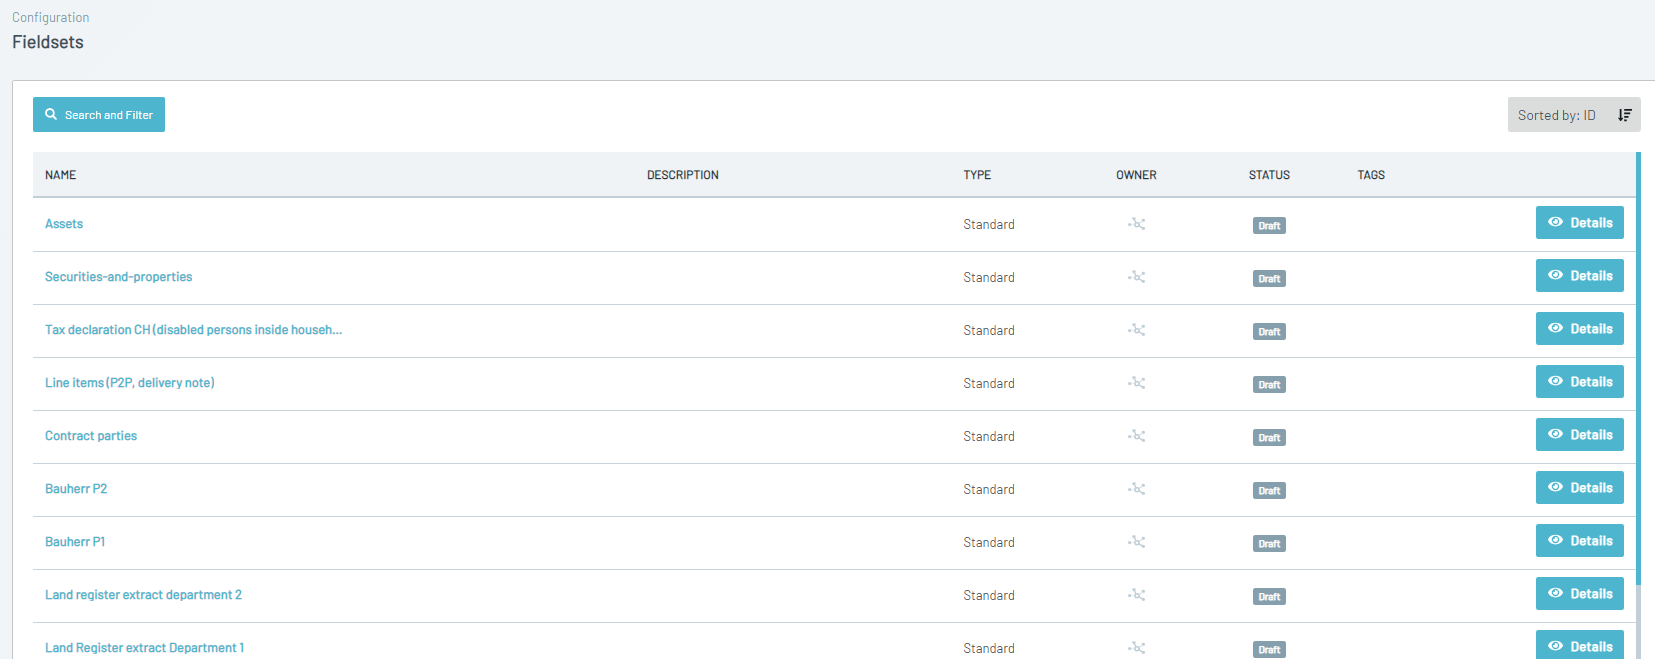
**Fieldsets**: View and edit fieldsets, define the fields included, and set display order and other attributes.
****
**Upload Profiles:** Create and manage upload profiles, enable inbound email feature, select a recognition mode, configure separation and classification options, and define additional quality control (QC) settings.
****
**Automation Rules:** Create and manage automation rules to streamline document workflows, automate repetitive tasks, reduce manual effort, and ensure consistent document processing**.**
****
### **Integration Section**
Clicking on the "Integration" section in the left sidebar presents four sub-sections.
These features are essential for developers looking to integrate external systems and automate workflows within the platform.
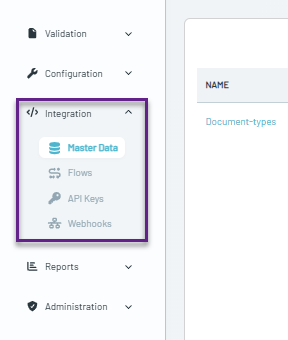
**Master Data:** Create and manage master data tables used by automation rules to automatically fill document fields based on matching criteria, reducing manual data entry and ensuring consistent data.

**Flows:** Create and manage automated workflows to connect Parashift with external systems, monitor additional input channels, transform document data, and automatically deliver results to downstream applications.

**API Keys**: View, create, edit, and manage API keys for system integrations.
****
**Webhooks**: View and edit webhooks, including defining URLs, event triggers, and payload data.

### **Reports Section**
Clicking on the "Reports" section in the left sidebar presents five sub-sections.
**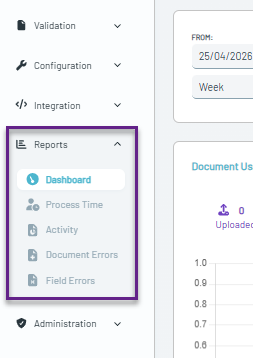**
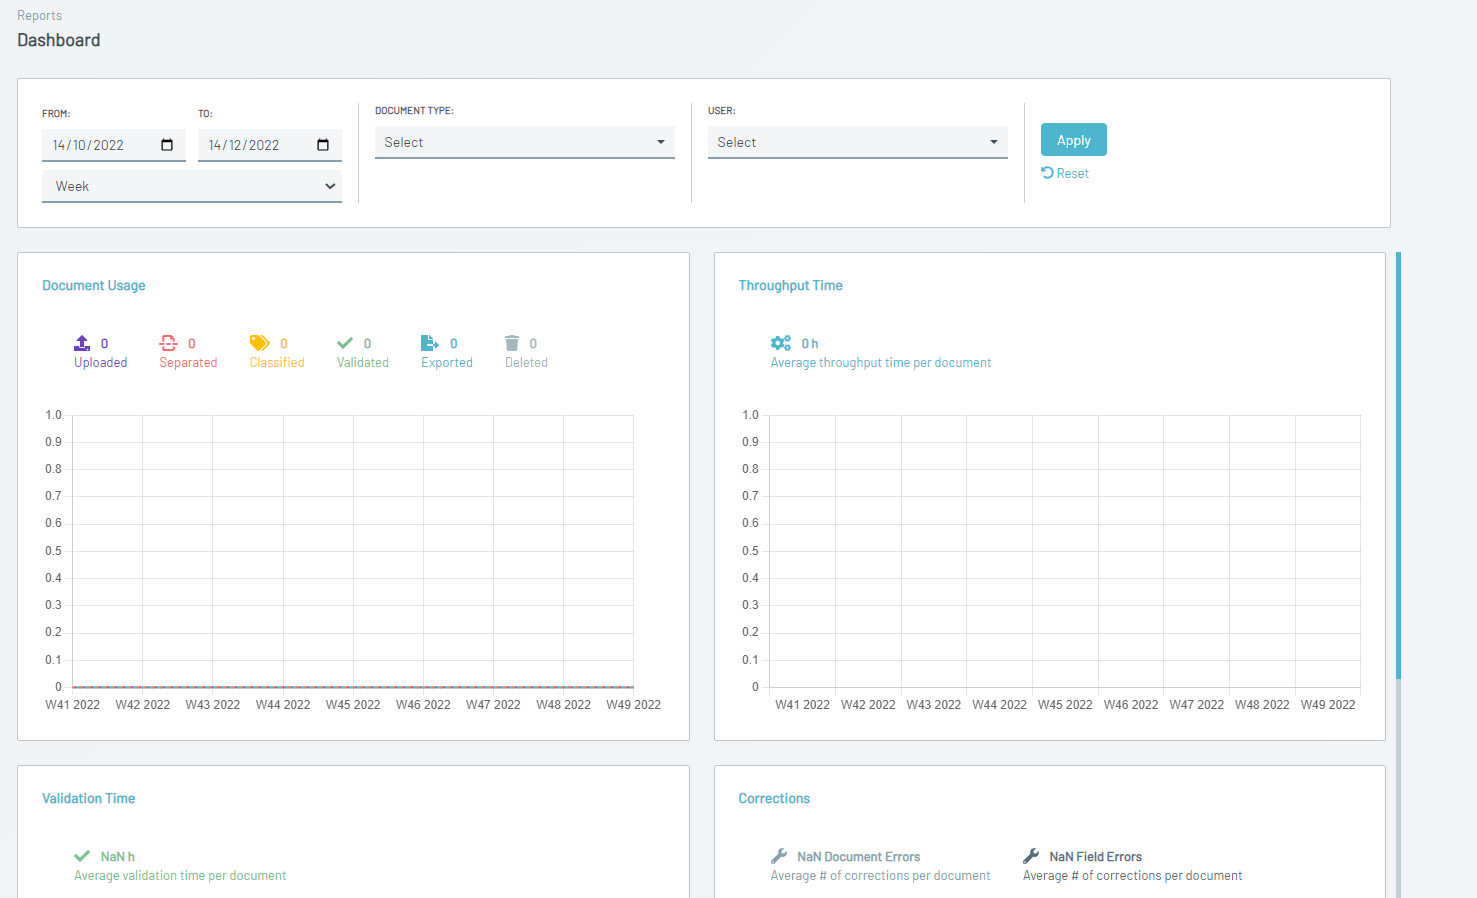
**Dashboard**: View various graphs and charts summarizing document usage, processing times, throughput, and corrections. Data can be filtered by time period, document type, and user.
****
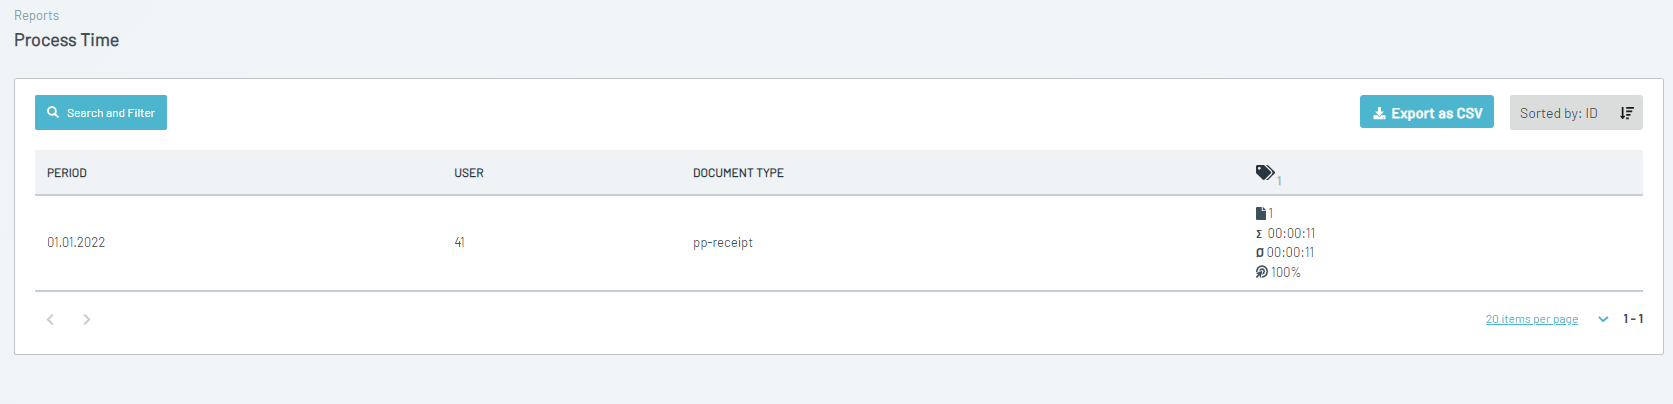
**Process Time**: View a breakdown of processing times for each document. Data can be filtered by time period, document type, and user.
****
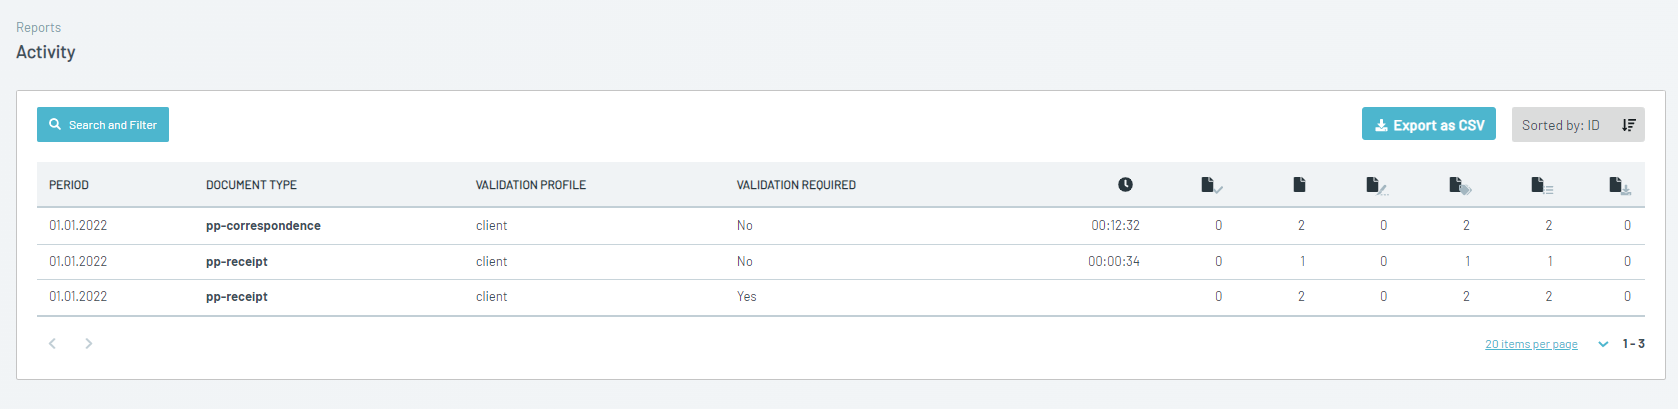
**Activity**: View summaries of different activities performed on documents, including processing times, service level agreement compliance, and task counts. Data can be filtered by document type, validation profile, and time period.
****
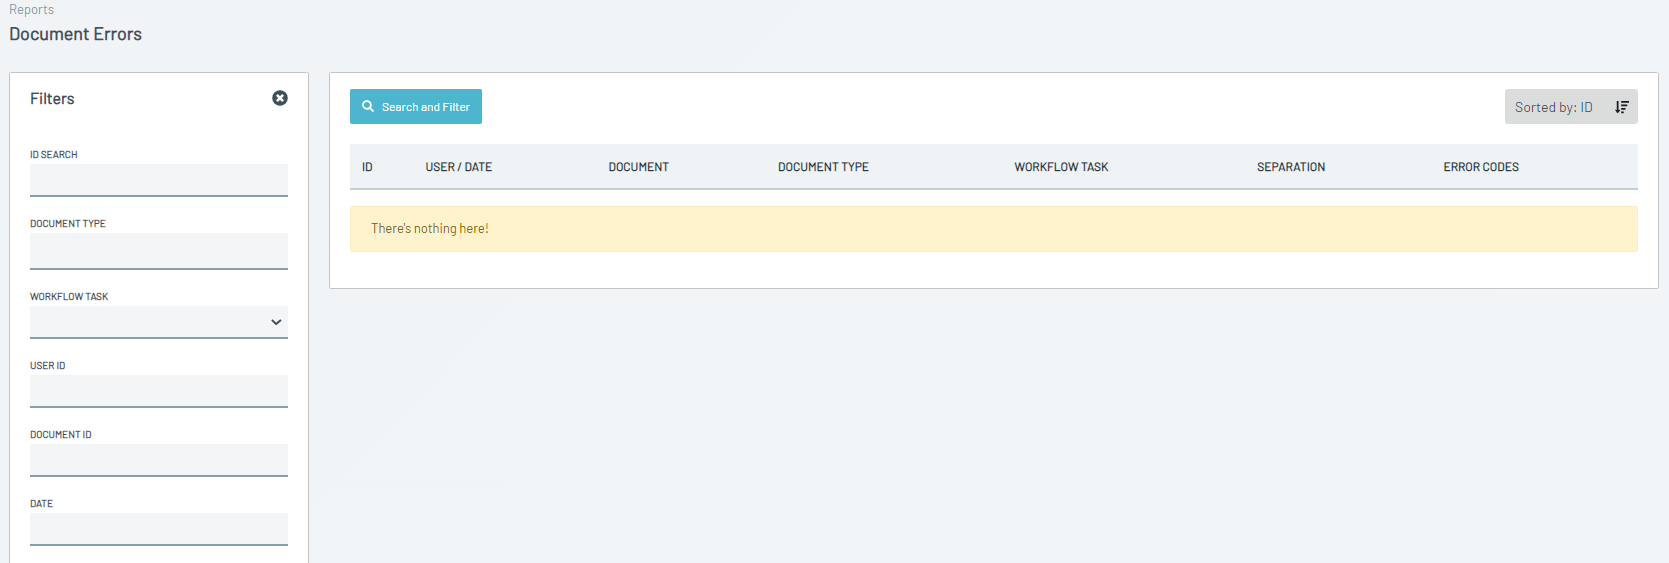
**Document Errors**: View a summary of errors during document processing, filtered by document ID, type, workflow task, and time period.
**Field Errors:** View detailed breakdowns of field-level errors, including error values, page numbers, and coordinates. Data can be filtered by document ID, error location, workflow task, and time period.
****
### Administration Section
Clicking on the "Administration" section in the left sidebar presents four sub-sections.
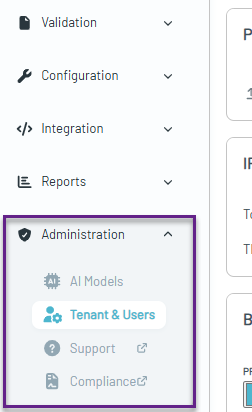
**AI Models:** Manage default AI models, bring your own AI models (BYOM) for use within your environment.
Learn more: [Bring Your Own Model to the Parashift Platform](https://support.parashift.io/bring-you-own-llm-model?hsLang=en)

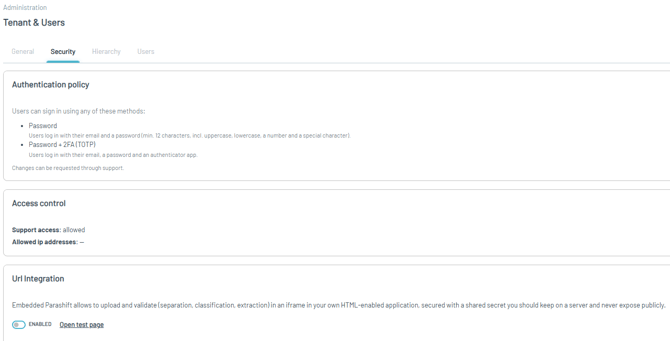
**Tenant & Users:** Manage users and permissions, invite new users, and view or configure tenant settings.
Learn more: [Tenant Security Management](https://support.parashift.io/tenant-security-management?hsLang=en)
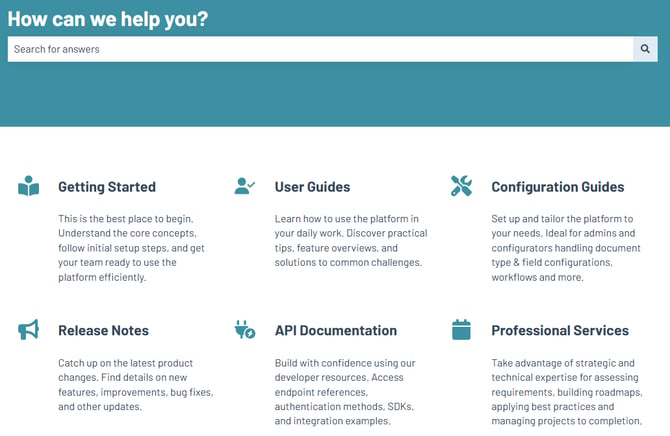
**Support:** redirects users to the Knowledge Base site.
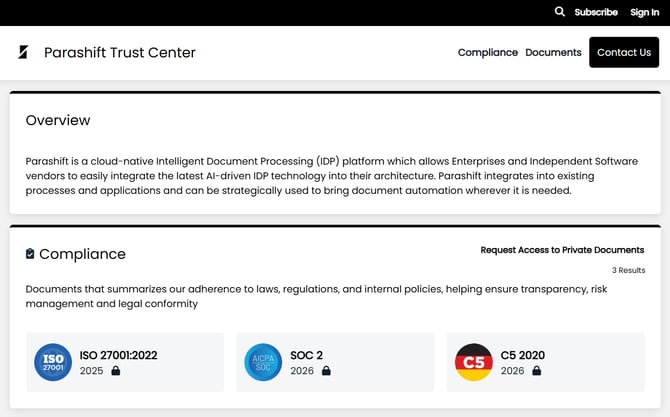
**Compliance:** opens the Parashift Trust Center website.
- [Getting Started](https://support.parashift.io/getting-started?hsLang=en)
- [User Guides](https://support.parashift.io/user-guides?hsLang=en#main-content)
- [General](https://support.parashift.io/user-guides?hsLang=en#general)
- [Validation](https://support.parashift.io/user-guides?hsLang=en#validation)
- [Platform Workshops](https://support.parashift.io/user-guides?hsLang=en#platform-workshops)
- [Configuration Guides](https://support.parashift.io/configuration-guides?hsLang=en#main-content)
- [Document Type & Fields](https://support.parashift.io/configuration-guides?hsLang=en#document-type-fields)
- [Automation](https://support.parashift.io/configuration-guides?hsLang=en#automation)
- [Tenant (User management)](https://support.parashift.io/configuration-guides?hsLang=en#tenant-user-management)
- [Workflow (Upload Configuration, Separation, Classification)](https://support.parashift.io/configuration-guides?hsLang=en#workflow-upload-configuration-separation-classification)
- [Release Notes](https://support.parashift.io/release-notes?hsLang=en)
- [API Documentation](https://support.parashift.io/api-documentation?hsLang=en#main-content)
- [Platform API Configuration](https://support.parashift.io/api-documentation?hsLang=en#platform-api-configuration)
- [Technical API Documentation](https://support.parashift.io/api-documentation?hsLang=en#technical-api-documentation)
- [Professional Services](https://support.parashift.io/professional-services?hsLang=en#main-content)
- [Project-based Service Packages](https://support.parashift.io/professional-services?hsLang=en#project-based-service-packages)
- [Subscription-based Service Packages](https://support.parashift.io/professional-services?hsLang=en#subscription-based-service-packages)
[](https://support.parashift.io/?hsLang=en)
[Platform Live Status](https://status.parashift.io/) | [API Documentation](https://docs.parashift.io/)
[mailto:support@parashift.io](mailto:support@parashift.io)
Copyright © 2025, Parashift AG